A detailed guide to installing Ubuntu Server 18.04 LTS on VirtualBox 6.
Tapping into Clairvoyant’s experience of working on Kafka- the open-source stream-processing software platform, this blog is our attempt to document a step-by-step, detailed guide to installing Ubuntu Server 18.04 LTS on VirtualBox 6. Read on to know more.
Before you start, make sure you have the below requirements downloaded:
-
VirtualBox You can download the VirtualBox from the below link as per your operating system
https://www.virtualbox.org/wiki/Downloads
-
Ubuntu 18.04 LTS ISO image. You can download the Ubuntu ISO 18.04 image using the link below: https://releases.ubuntu.com/18.04.4/ubuntu-18.04.4-live-server-amd64.iso
We performed the steps on a Windows 10 platform. We are going to install the Ubuntu server in two steps as below:
-
Creating a new VirtualBox Machine
-
Installing Ubuntu Server 18.04 LTS
So let's start the installation.
Step — 1 Creating a new VirtualBox Machine
-
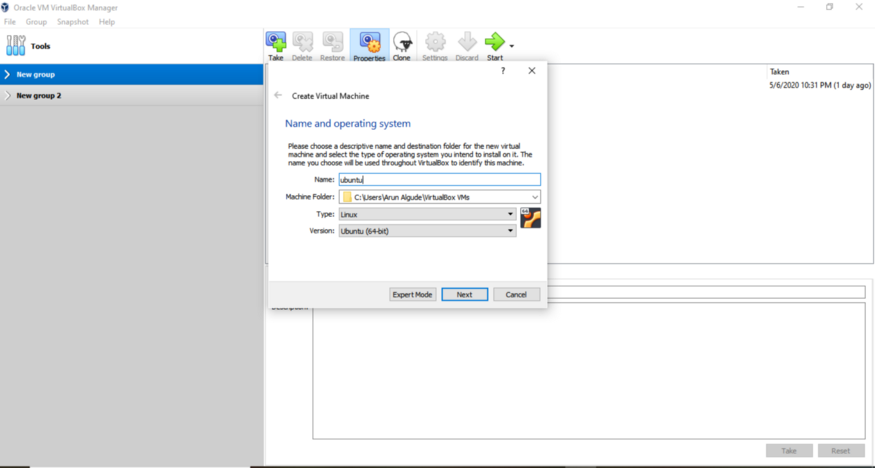
Open VirtualBox. In VirtualBox, click on “New” then Enter a Name for your Virtual Machine. Select the Virtual Machine type as Ubuntu.
Step 1.1 — Creating a Hard Drive
-
Select the amount of memory[Ram] in MB for the new machine. 2GB is a good memory for Ubuntu 18.04 to run smoothly.

-
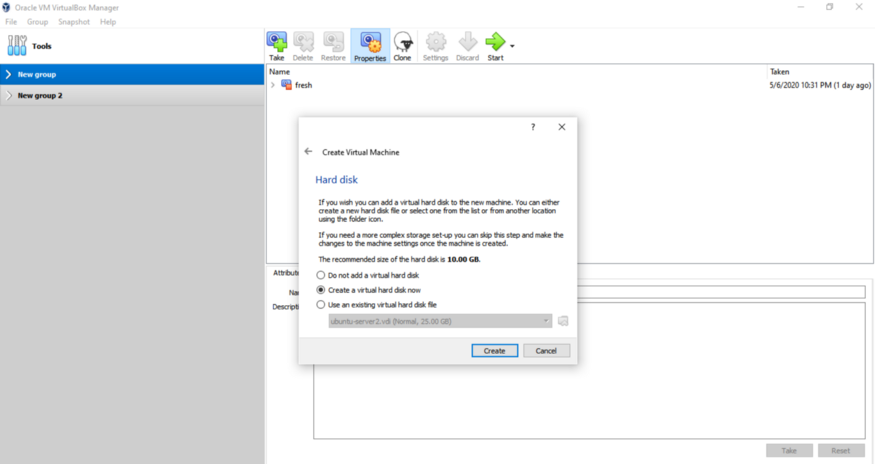
Click on create a virtual hard disk now.
-
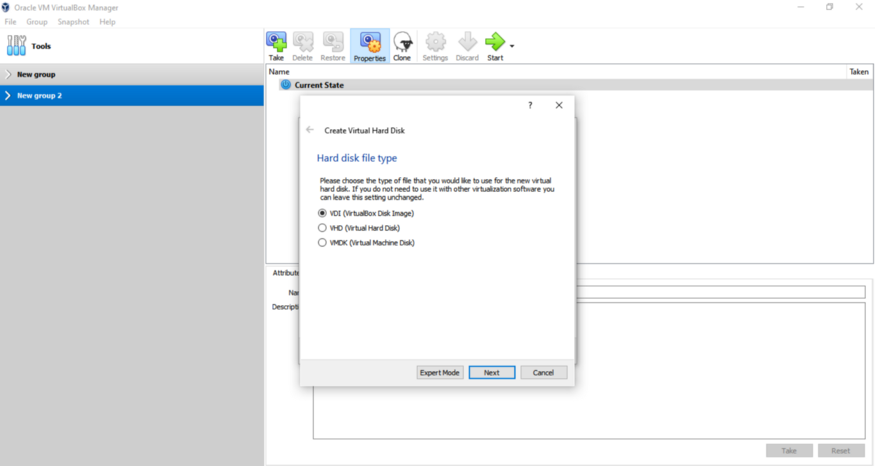
Select Hard disk file type as Virtual disk image[VDI]
-
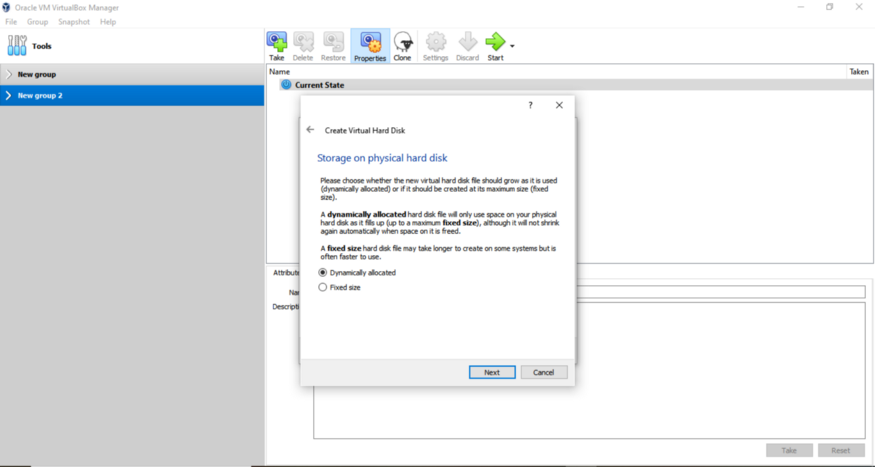
When prompted to choose the type of storage on a physical hard disk, select the default Dynamically Allocated option, which will save physical disk space.
-
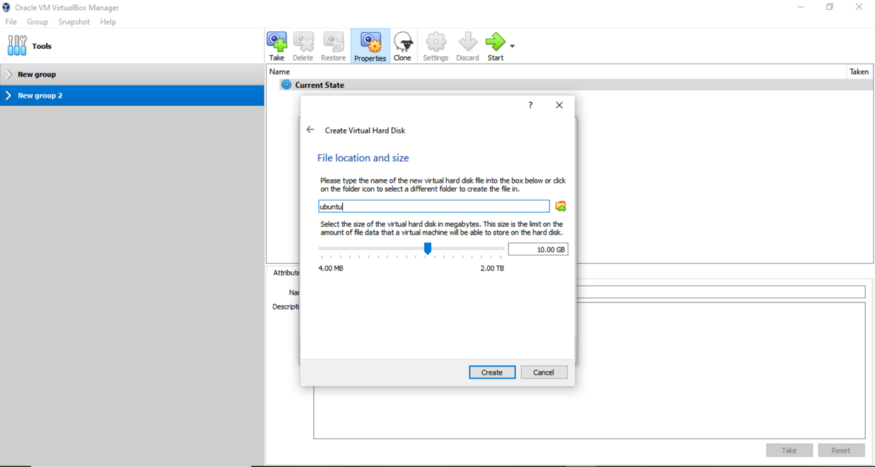
Under create the virtual hard disk, add the storage as per your need. Ubuntu server takes 10GB by default, and 20GB space is enough for development purposes.
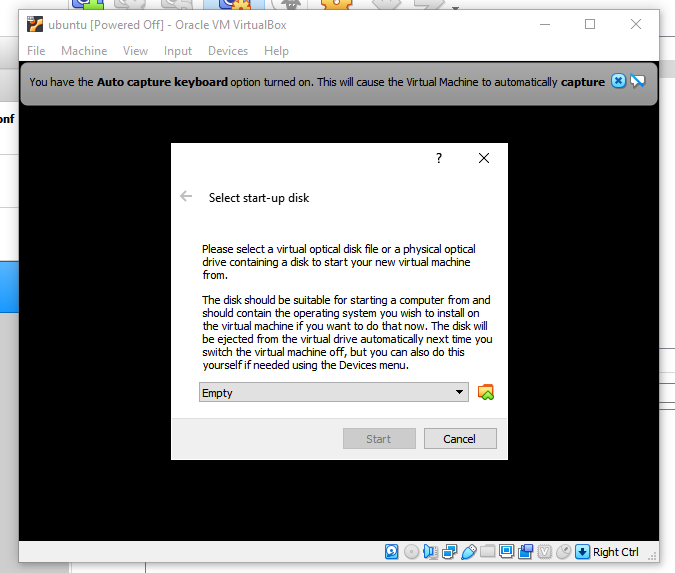
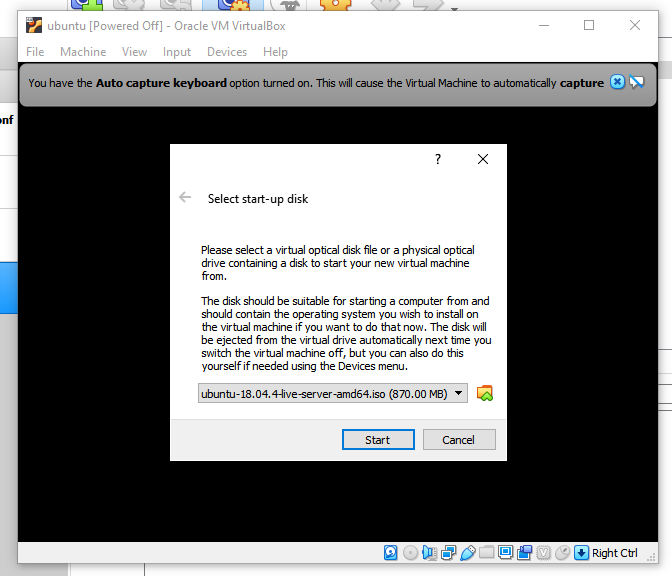
Step 1.2 — Start the VM
Navigate to the folder which has the Ubuntu 18.04 ISO image downloaded and select the image for installation. Usually, it should be in the Download folder.
Step — 2 Installing Ubuntu Server 18.04 LTS
-
Now, let's install the Ubuntu 18.04 LTS image. Please follow the steps below: These steps are so simple and easy. Now, let us start.
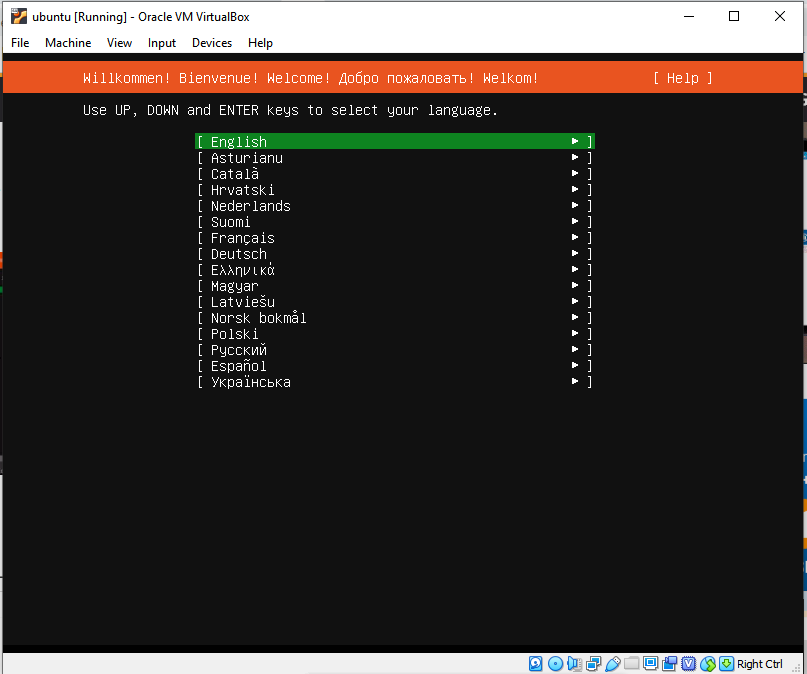
Step 2.1 — Select the Language
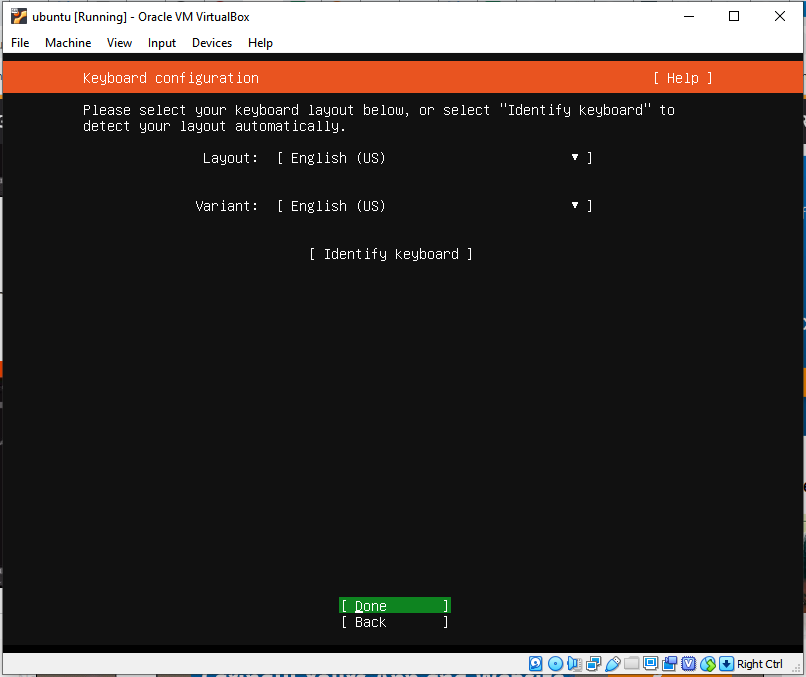
Step 2.2 — Select the Keyboard Layout
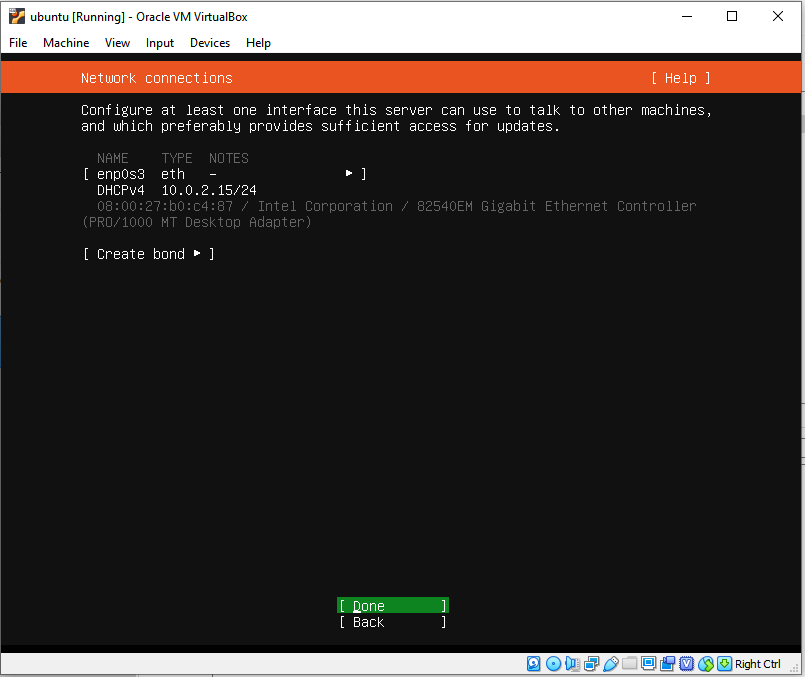
Step 2.3 — Select the Network Settings
-
We can add the IP from the DHCP server manually, or we can leave it empty. For our tutorial, we leave the DHCP server as it is and select Done.
-
Enter your Proxy Server Address if you have any, or you can leave it blank and select Done.

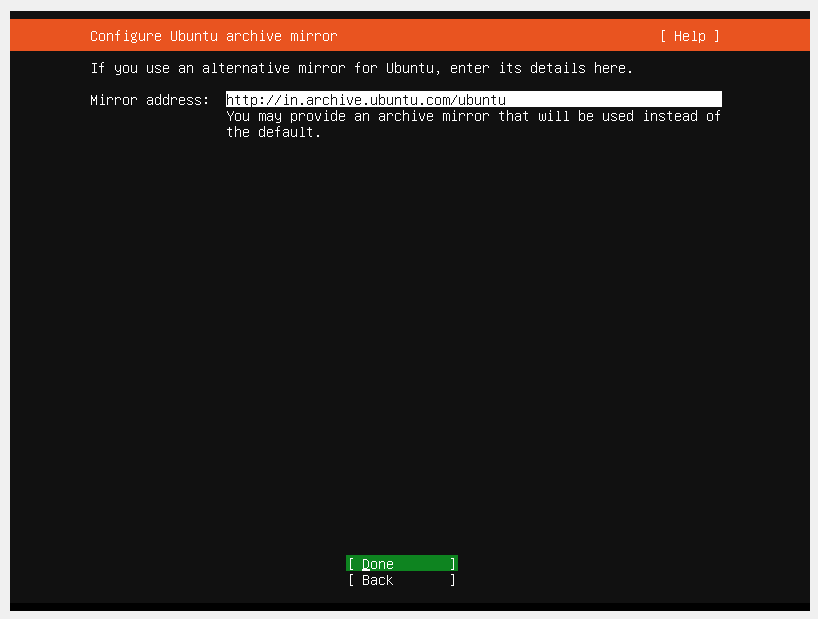
Step 2.4 — Select the Mirror
-
If you have don’t have any other mirror address, keep the default Mirror address.
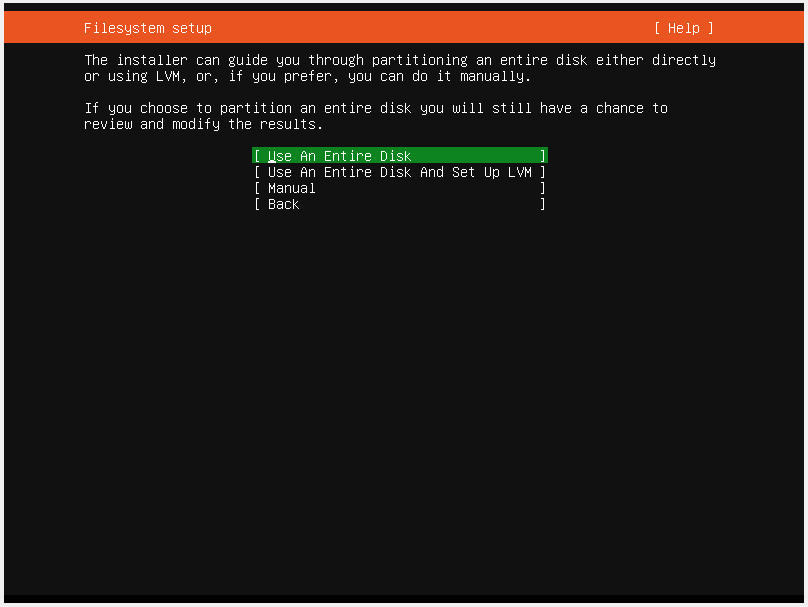
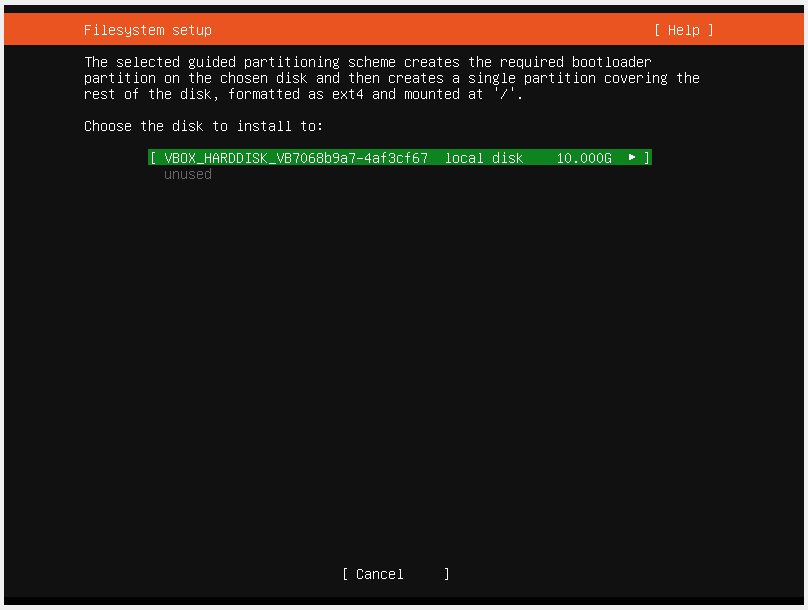
Step 2.5 — Hard Disk Configuration
-
Select the option which is suitable for your installation. You can select the Entire Disk for a normal installation i.e. select Entire Disk or Set up LVM. The option “use An Disk and Set up LVM” is used for disk encryption.
-
For this tutorial, I am going to use the default option i.e. “Use An Entire Disk”.
-
Select Hard Disk where you want to install Ubuntu Server 18.04 LTS on.
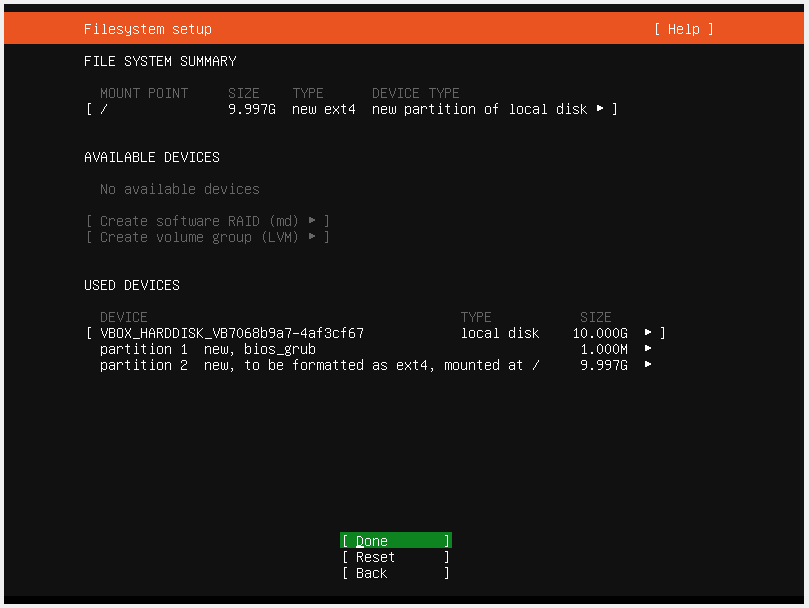
Step 2.6 — Summary of disk configuration.
-
Check if everything is as expected and select Done. ;
-
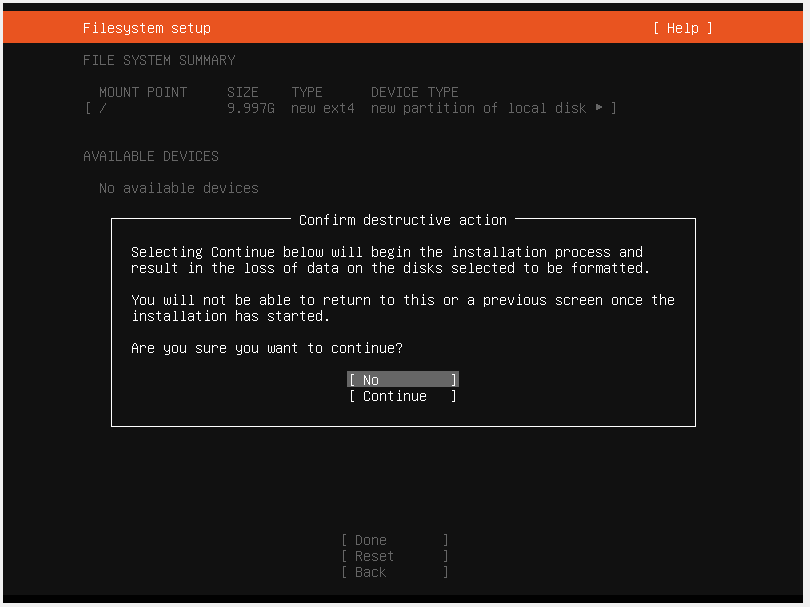
Select Continue, which confirms that your Hard Disk will get formatted.
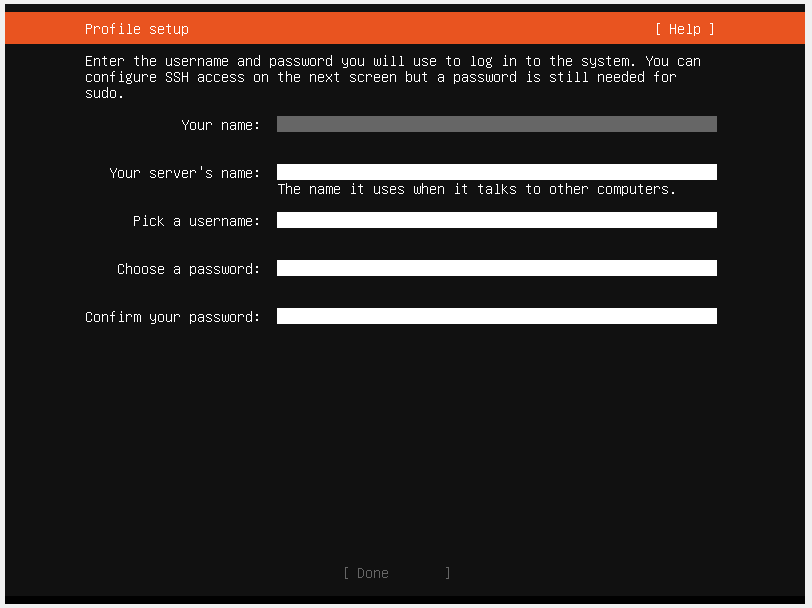
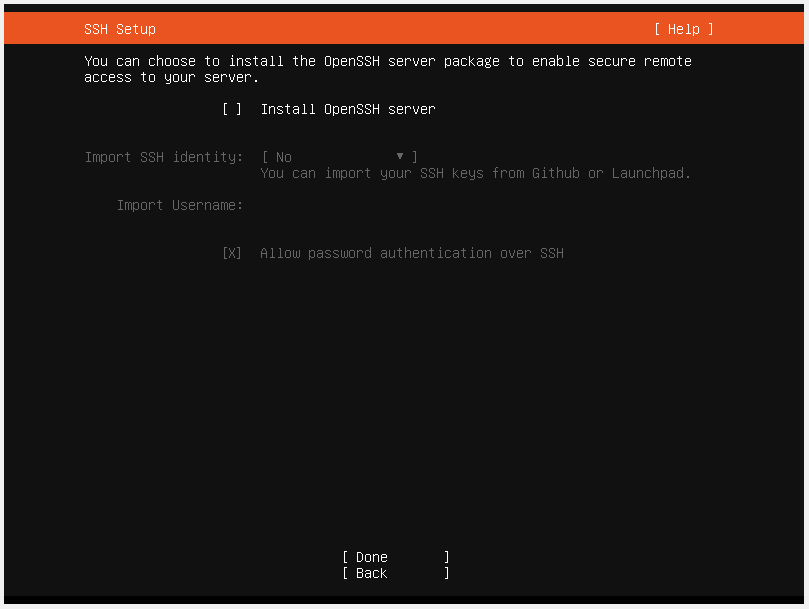
Step 2.7— Enter Credentials & your Server name.
Now set your Username, Password, and Hostname.
-
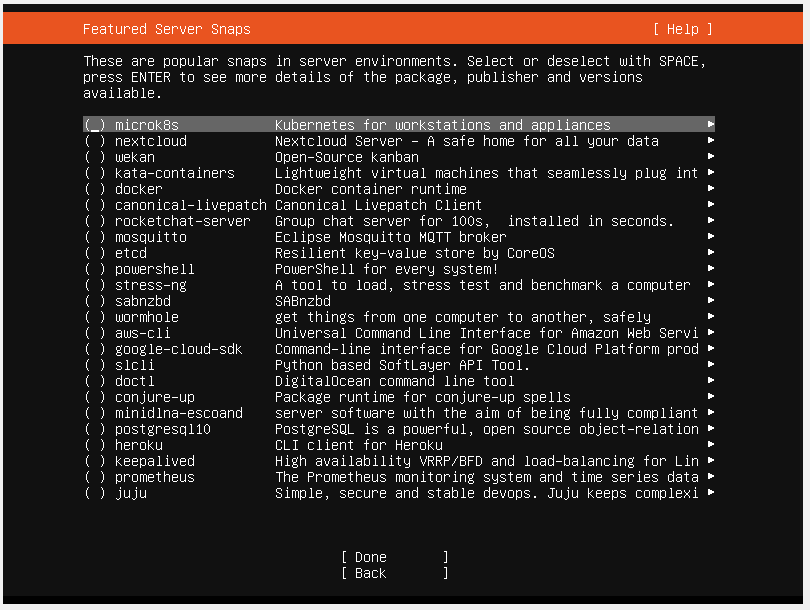
On next step is to select install OpenSSH server, which will help us when we try to ssh the VM from windows. We can select the Docker, which is useful while deploying the Kafka cluster using the container. Also, you can select Featured Server Snaps, which has a list of pre-configured Server packages.
-
After this, select Done, and Installer will do its job. We are pretty much installed the Ubuntu Server on VM Box till this step.
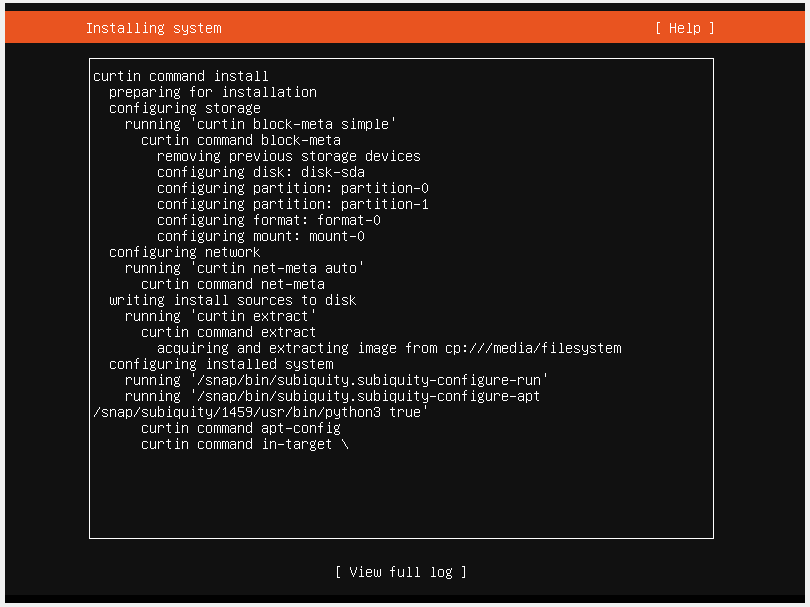
-
Once Installer is completed, select Reboot now and hit enter when it asks about the remove the image. After this, wait for VM prompts for username and password.
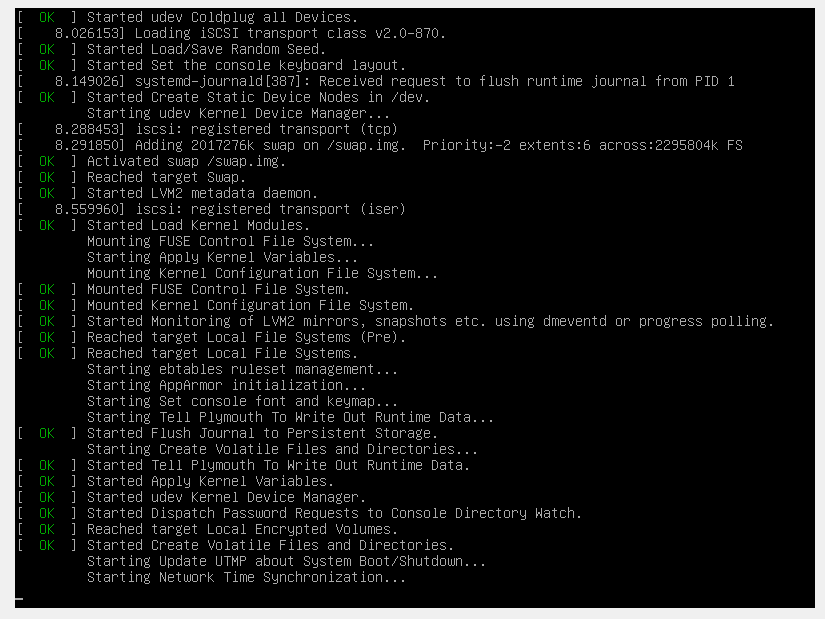
Step — 3 Log in to your Ubuntu Server 18.04
-
Once VM prompts for username and password, Enter the details and run the below commands.
sudo apt-get update && sudo apt-get upgrade -y
So we have installed Ubuntu 18.04 LTS server on Virtual Box. Enjoy the setup, and in the next blog, I will guide you on how to assign static IP and give internet access to your virtual machine.
Check out the other two blogs, Kafka Series 2 and Kafka Series 3, in continuation of this blog. For the best data engineering solutions for your business, reach out to us at Clairvoyant.